Version: 25.09.07
OwnTracks is an open-source project for privately recording and sharing location data over HTTP—directly from your smartphone to your own server.
The Recorder is a lightweight server component that stores and manages position reports and exposes an API (ideal for self-hosting). The Frontend is the companion web interface that lets you easily view and explore your tracks, places, and geofences on maps. Together, Recorder and Frontend provide a privacy-friendly, self-hosted solution for live tracking and location history.
What can OwnTracks be used for?
- Family & friends: Quickly share your location and see if someone arrived safely.
- Your own kids (with consent): Keep an eye on the route to school and get a notice like “has arrived/has left.”
- Meetups & trips: Find each other more easily and see who’s already nearby.
- Sports & outdoors: Record running, cycling, or hiking routes and view them on the map later.
- Small teams: Get an overview of where everyone roughly is right now.
Requirements:
- Basic Linux command-line skills
(SSH, editing files, checking services/logs) - Your own VPS/server with a domain
- Public domain with access to DNS records
(A/AAAA, optional CNAME) - Static public IP recommended (VPS / home server)
- Docker & Docker Compose installed
Quick check:
docker --version
docker compose version
Nginx Proxy Manager (NPM) installed and configured
– for Let’s Encrypt certificates (HTTPS) and access protection (Basic Auth / Access Lists)
Access to DNS — a domain/subdomain for the OwnTracks setup (e.g., tracks.yourdomain.com / maps.yourdomain.com) pointing to your server
1. docker-compose.yml and project folder
Create a new folder in your project directory. For example:
cd home
mkdir owntracks
cd owntracks
A docker-compose.yml is then created in the /home/owntracks folder
nano docker-compose.ymlThe following content goes into the docker-compose.yml:
Version: "3.9"

services:
  otrecorder:
    image: owntracks/recorder:latest
    container_name: otrecorder
    restart: always
    ports:
      - "8083:8083"              # HTTP-API, Websocket und einfache Weboberfläche
    environment:
      - OTR_PORT=0               # MQTT explizit deaktivieren (nur HTTP nutzen)
      - OTR_HTTPHOST=0.0.0.0     # HTTP nach außen binden
      - OTR_HTTPPORT=8083
    volumes:
      - ./config:/config         # Recorder-Konfiguration (recorder.conf etc.)
      - ./store:/store           # Persistente Datenablage

  owntracks-frontend:
    image: owntracks/frontend:latest
    container_name: owntracks-frontend
    restart: always
    depends_on:
      - otrecorder
    ports:
      - "8101:80"
    environment:
      - SERVER_HOST=otrecorder   # der Service-Name aus diesem Compose
      - SERVER_PORT=8083
As an explanation:
The OwnTracks recorder is available on port 8083. We’ll make this port public later at https://tracks.yourdomain.com. The OwnTracks web interface is available on port 8101. We’ll make this port public later at https://maps.yourdomain.com. In the /home/owntracks/ folder, we’ll create a subfolder called “config”:
mkdir config
cd config
And in the config folder the following file is added: recorder.conf with the following content
nano recorder.confContents:
# MQTT komplett aus (nur HTTP)
OTR_PORT = 0;

# HTTP-Server binden
OTR_HTTPHOST = "0.0.0.0";
OTR_HTTPPORT = 8083;
Now we return to the folder /home/owntracks/ and start the docker-compose.yml
cd ..
docker compose up -d
The OwnTracksRecorder and the OwnTracksFronted(website) should already be running.
2. Create DNS names
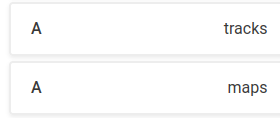
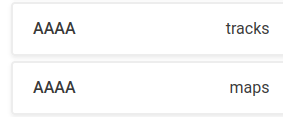
We’ll create two A and AAAA DNS records with your VPS provider (e.g., Hetzner.com):
maps.yourdomain.comtracks.yourdomain.com
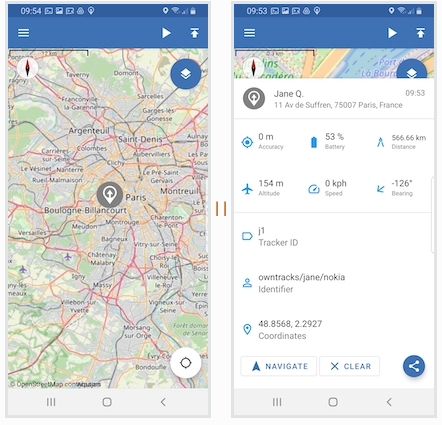
The first is the page where you can view where each person is located.
The second is the URL to which the Android app (for example) sends its location data.
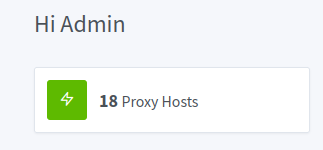
3. Configure Nginx Proxy Manager (NPM):
We are now also setting up these domains with SSL certificates in NPM:
Important in our configuration:
maps.yourdomain.com→127.0.0.1on port 8101tracks.yourdomain.com→127.0.0.1on port 8083
Exactly as configured in the docker-compose.yml above. Requirement: NPM and OwnTracks run on the same machine.
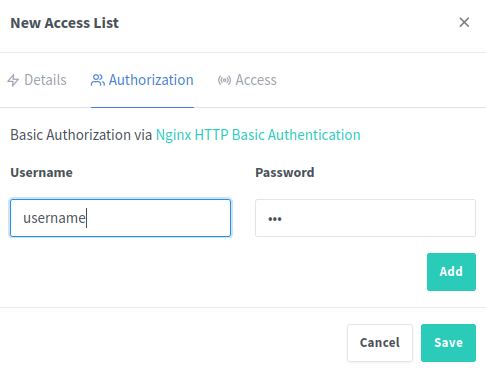
To prevent unauthorized access to location data, we protect maps.yourdomain.com with a username and password.
This is easy to do in NPM using Access Lists.
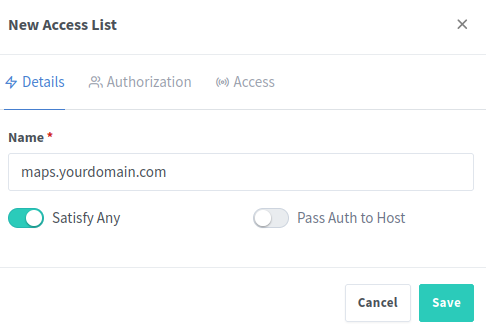
Then click save and everything is fine.
4. VERY IMPORTANT ! (Prevent Leaks) !!
Do not allow leaks or let third parties access your movement data (family/friends/children). To achieve this, further restrict the recorder in NPM (tracks.yourdomain.com):
Allow only /pub (POST only), and block or protect /api/ and /ws/. You should also not expose the recorder directly on the host so no one can bypass NPM (or block the ports via the firewall).
The following “Custom Locations” (tracks.yourdomain.com) are required:
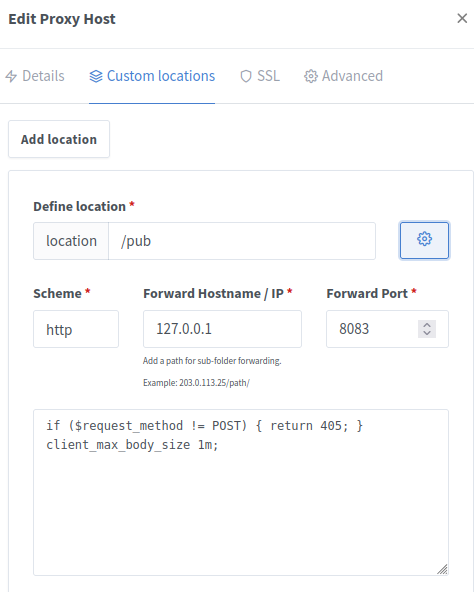
Enter this custom code as well (see screenshot):
if ($request_method != POST) { return 405; }
client_max_body_size 1m;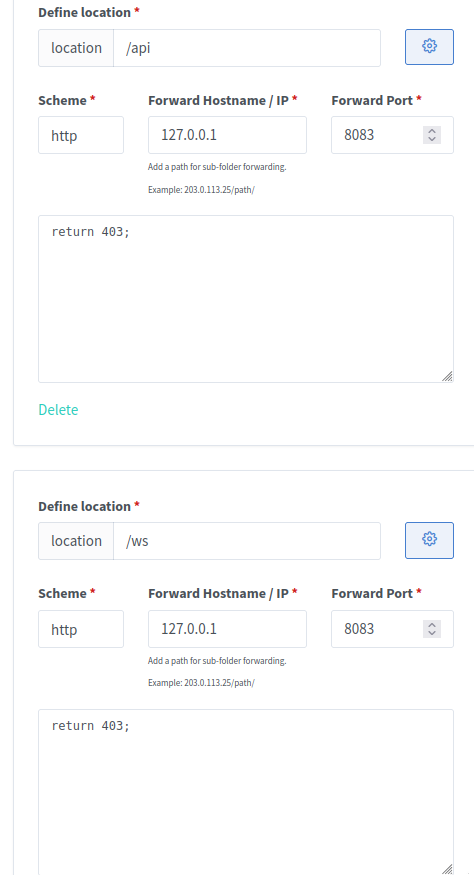
Enter the following in each case (see screenshot):
return 403;This step is very important to ensure that third parties cannot view any data via your “tracks.yourdomain.com” page.
And in the “Advanced” tab of the “tracks” domain, also add:
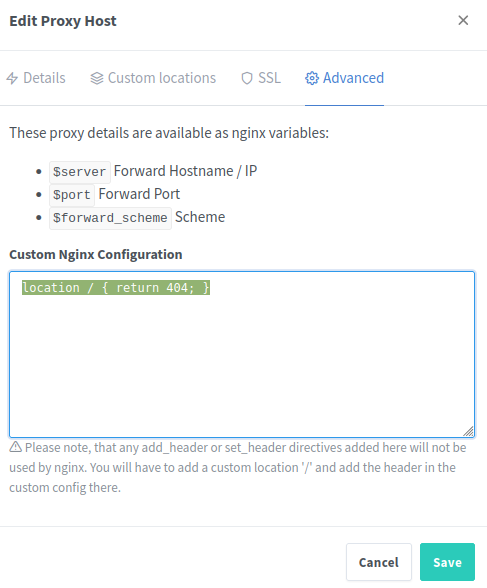
location / { return 404; }Done: everything is now set up on the server side.
5. Install Android App / IOS App
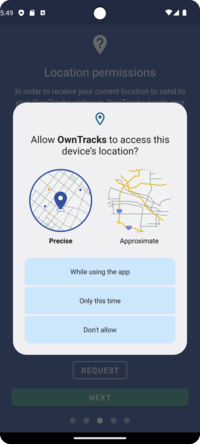
Install the App:
Grant and assign all permissions:
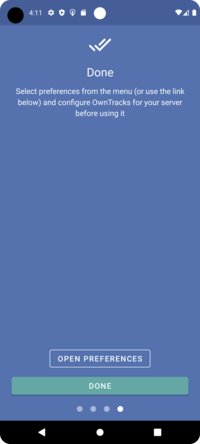
Click on settings/preferences:
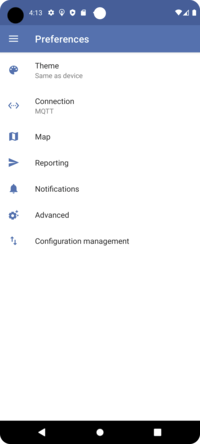
Enter the connection data to your server:
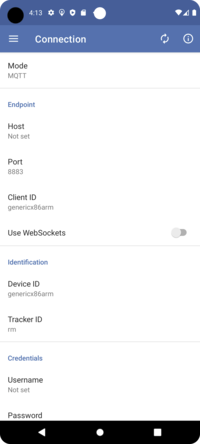
Mode = HTTP
Host = https://tracks.yourdomain.com/pub (Important, not: maps.yourdomain.com!)
Port = Leave blank at HTTP
ClientID = Leave blank at HTTP
DeviceID = Name for example tomphone
TrackerID = 1 (use consecutive numbers, or e.g., “tp”)
Username and Password: Leave blank
That’s all. 😀
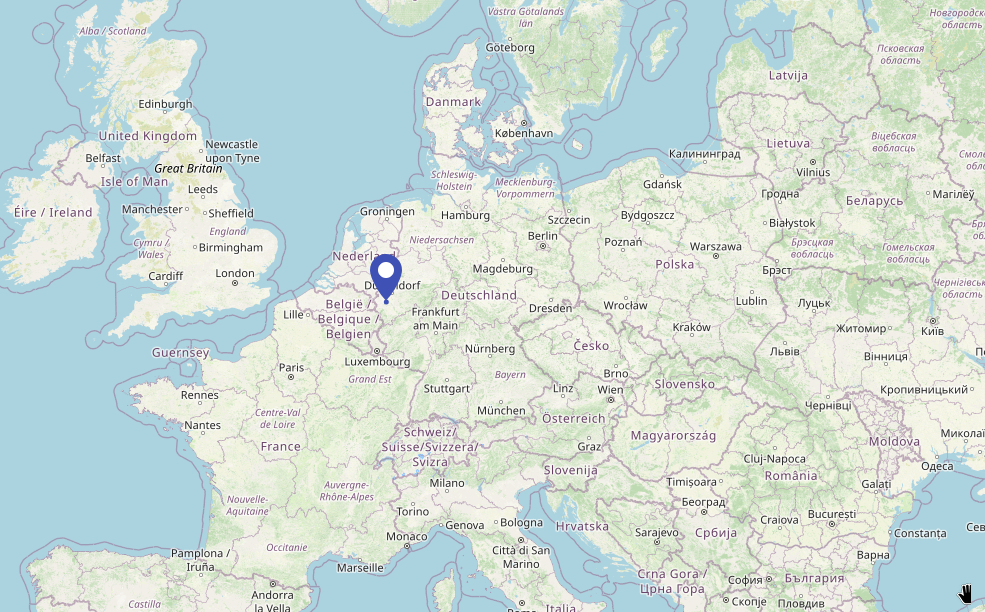
The app now sends current location data to your own server, and everything can be reviewed and tracked live at https://maps.yourdomain.com
 |  | |
| bc1pnks6qsyumceygnw760x6dthqzngm3pt5xtpkrh3n9ydm3e8ekgms7r4azl | Lightning: itsc@strike.me | https://paypal.me/TomC777 |
 |  |  |