


Version: 25.04.25
Problems of DS-Lite connections and limited IPv4 accessibility
Many modern internet connections – both in cable and fiber optic networks – use the so-called DS-Lite (Dual Stack Lite). In this setup, devices in the home network only receive a public IPv6 address, while IPv4 connections are routed through a shared gateway. This results in devices not being directly reachable via IPv4, which can cause significant limitations for certain applications, such as a web server or an OpenVPN server.
In this tutorial, I will show you how to achieve IPv4 accessibility for devices in your home network despite a DS-Lite connection – whether it’s for a web server, an OpenVPN server, or similar services. The solution is based on a Socat server, which runs on a VPS and acts as a bridge between IPv4 and IPv6.
⚠️⚠️⚠️ WARNING: I do not recommend simple port forwarding, but rather a connection from the VPS into the home network using WireGuard, without any open ports! This tutorial is meant to show the basic principles of how Socat works! ⚠️⚠️⚠️
✅ What’s needed for this tutorial?
To implement this solution, you will need:
- A Fritzbox or alternatively another router that supports port forwarding and ideally has its own DynDNS service.
- A small VPS server, for example, from Hetzner.com, to serve as an intermediary for the IPv4 connection.
- Basic knowledge of Linux, as some steps will be carried out on a Linux server, and a basic understanding of network and server configurations will be helpful.
With these components/skills, you can set up a functional solution for IPv4 accessibility in a DS-Lite network.
In the first step, we will expose the required service in the FritzBox (IPv6) and make sure to use the MyFritz DynDNS service.
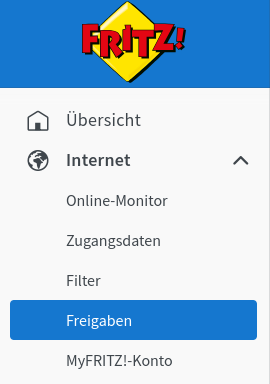
To do this in the FritzBox, click on “Freigaben” (Sharing).:
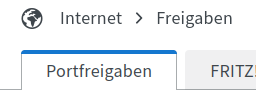
Next, click on Port Forwarding and then at the bottom click on “Add device for sharing”.

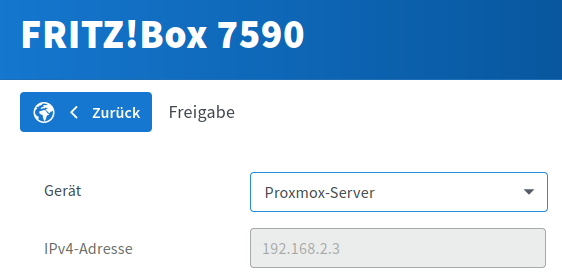
We select the device and click on “New Share”.

We set up the port forwarding accordingly:
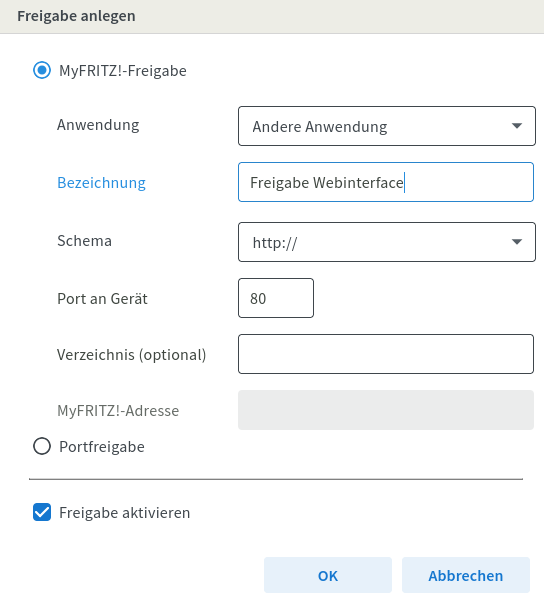
After clicking “OK,” we see the following result:
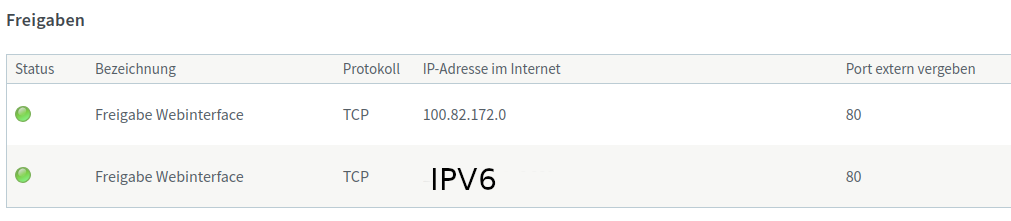
The port forwarding has been set up, and the IPv6 address (here obscured) is displayed.
We edit the IPv6 address by clicking the pencil icon:

We can now see that the MyFritz address (port forwarding) has been set up:

This address is important, and we should save it!
proxmox-server.9ksdksdi398sksldsksdsdj.myfritz.net:80
The address will later be used for setting up Socat.
✅ We are now finished with the FritzBox. Next, we log in to the VPS that we previously set up at Hetzner.com:
To do this, we use an SSH terminal (on Linux) or, on Windows, a tool like PuTTY:

We will now install Socat as a software bridge between IPv4 and IPv6:
apt install socat
apt install apt-transport-https
apt update
Now we create a SYSTEMD service that will also start automatically with every server reboot. A separate file will be needed for each service, but in this tutorial, we will only create one service (e.g., a web server):
nano /etc/systemd/system/webserver.serviceWe save the following content in the file:
[Unit]
Description=Socat TCP Proxy Webserver
After=network.target

[Service]
ExecStart=/usr/bin/socat TCP4-LISTEN:80,fork TCP6:proxmox-server.9ksdksdi398sksldsksdsdj.myfritz.net:80
Restart=always

[Install]
WantedBy=multi-user.target
In our example configuration, the following happens:
The VPS server listens on port 80 externally (IPv4, TCP4) and accepts all requests over IPv4. These data are then internally forwarded to IPv6 (TCP6) – in our case, to the FritzBox port forwarding.
We save the file (CTRL+O) and close the editor (CTRL+X).
Now we enter the following commands into the terminal one by one and confirm each with ENTER:
sudo systemctl daemon-reloadsudo systemctl enable webserver.servicesudo systemctl start webserver.serviceThat’s it! Our VPS server is now accepting IPv4 requests and forwarding them to the FritzBox in the IPv6 network.
We can verify the forwarding with the following command in the terminal:
sudo systemctl status webserver.serviceAs a result, the following output should be displayed (here slightly obscured because it’s my own Socat server):

The service can now be accessed externally at:
IP address (VPS):Port
Tip: If you run an OpenVPN server, you can operate it internally on any TCP port and externally specify, for example, port 443 or 587 (this allows your VPN to be accessible even in restricted Wi-Fi networks – e.g., in hotels).
✅ Have fun setting up your own Socat server.
 |  | |
| bc1pnks6qsyumceygnw760x6dthqzngm3pt5xtpkrh3n9ydm3e8ekgms7r4azl | Lightning: itsc@strike.me | https://paypal.me/TomC777 |
 |  |  |